 My MacBook’s back. I got it back that same evening after I sent it off in the morning with my hubby to the authorized service provider. Guess what was wrong with it?
Nothing.
[Insert sheepish grin]
If I had applied my iPhone knowledge to my MacBook and forced a shutdown by simply holding down the power button for several seconds, I might have saved myself a rant. But in my frustration and disappointment and a little panic, I forgot I could do that (I’m sure there’s a another lesson in there for me). I only remembered I could put it to sleep with a quick press of that power button, but a full “shut down” required a click under the apple symbol—and I couldn’t click at the moment. So what was the first thing the technician at the store did? Forced a shut down by depressing the power button for several seconds. And when he turned it back on…voilà! Bye-bye glitch, hello working trackpad.
Next time I’ll know better.
And when your MacBook trackpad doesn’t “click,” you’ll remember my embarrassing oversight and know how to fix it without the panic. 🙂
Ahem. Moving on…
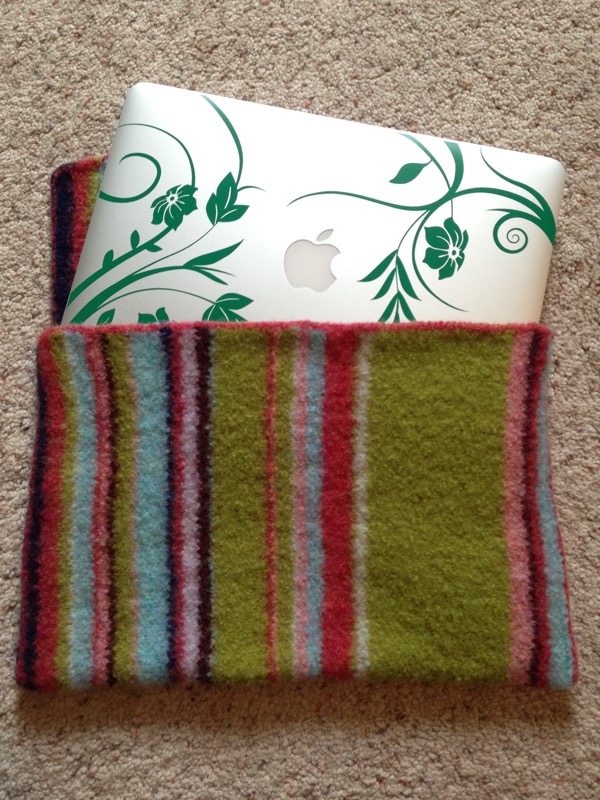
As I mentioned in my last post, I was excited at the thought of having an excuse to knit and felt a new laptop bag—a sleeve, I believe, is the technical term for what I made. I had a lot of yarn left over from my Ravenna Satchel, colors that continued to speak to me and worked well together, so I decided to use up my stash for this new sleeve. Because I use Wool of the Andes yarn from KnitPicks.com for most of my felting projects, I have a go-to formula that serves me well when I’m trying to figure out a project’s dimensions before felting to ensure it shrinks to the correct dimensions after felting.
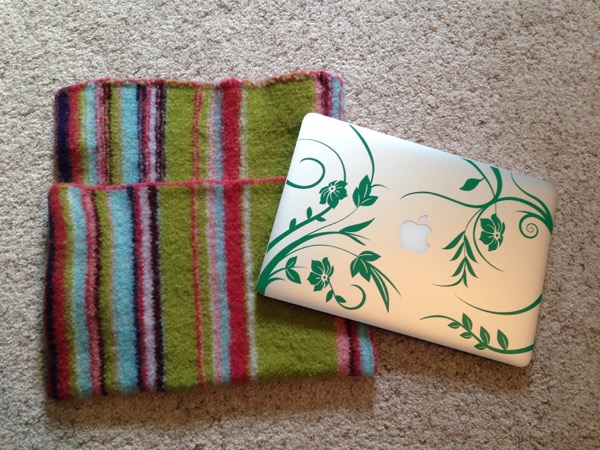
 For any interested knitters/felters out there, here is what works for me: Using Wool of the Andes worsted weight yarn on size 10 needles, I have found that 30 stitches and 23 rows (plus the cast on and bind off) equals 7″ x 4 1/4″ before felting and 5 3/4″ x 3″ after felting twice in a top-loading washing. Knowing those dimensions, I calculated I’d need to cast on 115 stitches and knit for 106 rows to create a simple fold-over laptop sleeve for the 13” MacBook. Normally I would have knit in the round, then bound off half the stitches and continued knitting the flap back and forth, but I wanted to knit stripes, so I worked it flat (allowing me to deal with just one color at a time) and then pinned it together on either side at the 90th stitch mark and closed the sides with a single crochet stitch. I then carried that crochet stitch around all edges save for along the bottom. I meant to take a before and after picture to show the size difference, but as usual, I got over zealous to felt it and forgot all about the picture until it was too late. One of these days I’ll remember to take it slow.
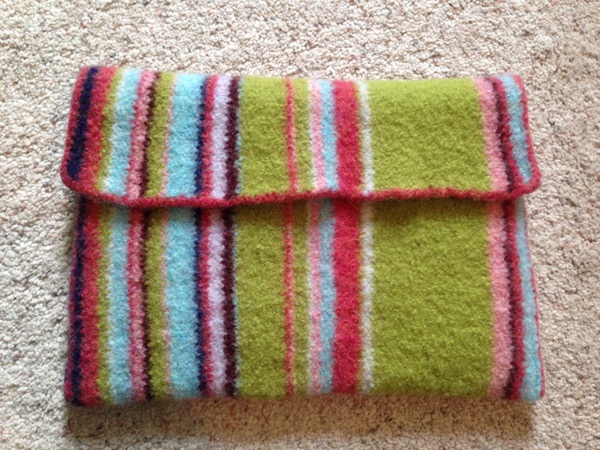
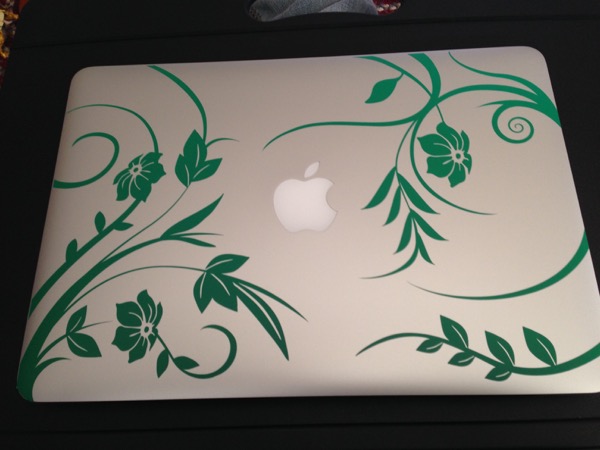
Simple project, right? Well…yes and no. As you can see in the above pictures, my MacBook has a fun decal on its cover and I found out on the first try that the pointy edges of the decal snag on every felted fiber as it slides in and out of the laptop sleeve. If I left it like that, the decal would be peeling off in no time. Can’t have that, can we, Miss Perfectionist?
No, I can’t.
 Thus I quickly cut and sewed an inside lining and attached it to the sleeve along the top edge. Of course, it was only after I sewed it in that I remembered I had first wanted to needle-felt a flowered vine or some such in the thick green stripe. Sigh. This is why I’m not a professional.
Thank goodness, then, that functionality doesn’t hinge on one’s professional status.
Do I hear an “Amen”? 😉